Contents
Just as a tightly sealed ship avoids leaks and remains buoyant, your attic’s air sealing can greatly impact your home’s energy efficiency. Identifying air leaks and sealing them properly is essential for ideal insulation performance. From weatherstripping to blown-in insulation, there are various techniques you can implement. Understanding these methods allows you to create a more comfortable environment while reducing energy costs. Let’s explore the top techniques that can make a difference.
Key Takeaways
- Conduct a thorough attic inspection to identify air leaks around electrical wiring, plumbing vents, and recessed lighting fixtures.
- Utilize mastic sealant or metal tape to seal gaps around ductwork, ensuring joints and bends are properly secured.
- Install foam gaskets behind electrical outlet covers and seal gaps with caulk for enhanced airflow protection.
- Use weatherstripping on attic access doors to prevent air leaks and maintain optimal insulation performance.
- Consider blown-in insulation for comprehensive coverage and improved thermal resistance, effectively reducing air leaks.
Assessing Air Leaks in Your Attic
How can you determine if your attic is losing valuable conditioned air? Start with a thorough attic inspection focusing on potential air leak detection points.
Look for gaps around electrical wiring, plumbing vents, and recessed lighting fixtures. Use a blower door test to create a pressure difference; this helps identify leaks by revealing areas where air flows out.
Next, employ a thermal imaging camera to visualize temperature differences, highlighting cold spots that indicate air leakage. You can also conduct a simple smoke test using incense sticks or smoke pencils near suspected leak areas. If the smoke moves or dissipates, you’ve identified a leak.
Document your findings meticulously, noting locations and sizes of leaks. This data will guide you in prioritizing repairs and sealing strategies, ultimately improving your attic’s energy efficiency and preserving your home’s conditioned air.
Weatherstripping Attic Access Doors
After identifying air leaks during your attic inspection, addressing the access points is crucial for maintaining your home’s energy efficiency.
One of the most effective methods for sealing attic access is weatherstripping. This process involves applying insulation materials that prevent air from leaking through gaps.
Here’s how to effectively weatherstrip your attic access doors:
Choose the Right Weatherstripping: Opt for adhesive-backed foam or V-strip weatherstripping designed for doors.
Clean the Surface: Verify the door frame is free from dust and debris to allow for proper adhesion.
Apply Correctly: Align the weatherstripping along the edges of the door frame, ensuring a snug fit when the door closes.
Sealing Gaps Around Ductwork
Gaps around ductwork can greatly compromise your home’s energy efficiency, leading to increased utility bills and uncomfortable temperature variations. To effectively address this issue, you’ll want to focus on proper ductwork insulation and implement effective sealing techniques.
Start by inspecting the connections between ducts and vents, looking for any visible gaps or holes. Use a high-quality mastic sealant or metal tape to seal these openings, ensuring a tight, long-lasting bond.
Next, wrap any exposed ductwork with insulation, which minimizes air leakage and helps maintain the temperature of the air traveling through the ducts. Pay extra attention to joints and bends, as these areas are often prone to leaks.
Finally, consider using foam gaskets or caulk at the points where ducts penetrate walls or ceilings. By sealing these gaps, you’ll enhance your home’s overall energy efficiency and comfort.
Insulating Attic Hatch Cover
Since the attic hatch is often overlooked, insulating it can considerably reduce energy loss and improve your home’s efficiency.
An uninsulated hatch allows conditioned air to escape, leading to higher energy bills. To properly insulate your attic hatch, follow these steps:
Choose Insulation Materials: Use rigid foam board or fiberglass batts. Both have good thermal resistance and can effectively minimize heat transfer.
Install a Weatherstripping Seal: Apply weatherstripping around the hatch perimeter. This ensures a tight seal when closed, preventing drafts.
Create an Insulated Cover: Build a removable, insulated cover that fits over the hatch. This adds another layer of insulation and is especially useful in extreme climates.
Caulking Cracks and Gaps
Insulating your attic hatch is just one step in enhancing your home’s energy efficiency. Next, focus on caulking cracks and gaps throughout your attic. This process is essential, as even small openings can lead to significant energy loss.
Start by selecting the right caulk types; for most attic applications, a high-quality acrylic latex or silicone-based caulk works best due to their flexibility and durability.
When applying caulk, confirm surfaces are clean and dry for peak adhesion. Use a caulking gun for precision, and apply a steady bead along the gaps, smoothing it out with a finger or a caulking tool for an even finish.
Pay particular attention to areas around ducts, vents, and plumbing penetrations. By effectively sealing these cracks and gaps, you’ll improve energy efficiency and maintain a more comfortable home environment.
Air Sealing Electrical Outlets
To effectively air seal electrical outlets, start by identifying their locations throughout your space.
Next, install foam gaskets behind the outlet covers to minimize airflow, and finish by sealing any remaining gaps with caulk.
This process reduces energy loss and enhances overall comfort in your home.
Identify Outlet Locations
Identifying their locations for air sealing electrical outlets is vital for effective energy conservation and indoor air quality.
Proper outlet placement can greatly impact airflow, making it important to locate them accurately. Here are three steps to ensure you find all necessary outlets:
Inspect Each Room: Walk through your home, noting the location of all outlets, especially in exterior walls.
Check for Outdated Outlets: Look for any older outlets that may not have proper sealing, as these are often overlooked.
Document Findings: Create a detailed map marking each outlet’s position to facilitate the sealing process later.
Utilizing outlet covers can further enhance your air sealing efforts, reducing drafts and improving insulation efficiency.
Use Foam Gaskets
Using foam gaskets is an effective method for sealing electrical outlets and preventing air leakage.
These gaskets come in various foam gasket types, including pre-cut options and universal sheets that can be trimmed to fit.
To install, first, turn off the power at the breaker box to ensure safety. Next, remove the outlet cover and place the foam gasket directly over the outlet, aligning it with the screw holes.
Reattach the cover, compressing the gasket slightly to create a tight seal. This installation technique considerably reduces drafts and enhances your home’s energy efficiency.
Seal With Caulk
Caulking around electrical outlets provides a robust solution for sealing gaps that can lead to air leaks.
To effectively seal these areas, consider the following caulk types and caulking techniques:
Acrylic Latex Caulk: Ideal for interior applications, it’s paintable and easy to clean up.
Silicone Caulk: Provides excellent flexibility and durability, perfect for areas prone to movement.
Fire-Rated Caulk: Use this in places where fire safety is a concern, as it helps maintain fire barriers.
When applying caulk, verify the surface is clean and dry.
Apply a consistent bead, filling gaps completely.
Smooth the caulk with a tool or your finger for a neat finish.
This attention to detail enhances the effectiveness of your air sealing efforts.
Installing Foam Board Insulation
To effectively enhance your attic’s energy efficiency, installing foam board insulation is a crucial step that requires careful planning and execution.
Begin by selecting the appropriate foam board types—expanded polystyrene (EPS), extruded polystyrene (XPS), or polyisocyanurate—each offering different R-values and moisture resistance.
Next, measure the areas where you’ll install the boards to ensure a snug fit. Use precise installation techniques, including cutting the boards with a sharp utility knife for clean edges.
Apply adhesive or mechanical fasteners to secure the boards in place, making sure you seal any gaps with tape or foam.
It’s essential to maintain a continuous insulation layer for maximum effectiveness. Pay attention to corners and edges, as these often present thermal bridging opportunities.
Properly installed foam board insulation can greatly reduce energy loss, resulting in lower heating and cooling costs.
Ventilation Considerations for Sealing
When sealing your attic, proper ventilation is essential to maintain a healthy airflow balance.
Insufficient ventilation can lead to moisture accumulation, which may compromise both insulation performance and structural integrity.
You’ll need to carefully evaluate your insulation strategy to ensure that airflow remains unobstructed while maximizing energy efficiency.
Importance of Proper Ventilation
While sealing your attic can greatly enhance energy efficiency, neglecting proper ventilation can lead to serious issues.
Adequate ventilation is essential for maintaining air quality and preventing moisture buildup, which can damage insulation and structure.
Here are three ventilation benefits you should consider:
Mold Prevention: Proper airflow reduces humidity, mitigating mold growth and protecting your home’s integrity.
Temperature Regulation: Ventilation helps maintain consistent temperatures, preventing overheating in summer and reducing heating costs in winter.
Extended Insulation Life: By reducing moisture and temperature extremes, you prolong the effectiveness and lifespan of your insulation.
Incorporating these ventilation strategies ensures that sealing your attic doesn’t compromise the overall health of your home.
Balancing Airflow and Insulation
Balancing airflow and insulation is crucial for optimizing your attic’s performance, as improper sealing can hinder ventilation and create an environment ripe for problems.
Effective airflow management ensures that your attic remains well-ventilated while maximizing insulation effectiveness. Start by evaluating your existing ventilation system—confirm that intake and exhaust vents work harmoniously.
Avoid blocking vents with insulation materials during sealing processes; this can lead to moisture buildup and mold growth. Additionally, consider installing baffles to maintain airflow between the insulation and the roof decking.
Regularly monitor humidity levels to verify they’re within acceptable ranges. By prioritizing both airflow and insulation, you’ll create a healthier attic environment that enhances your home’s energy efficiency and longevity.
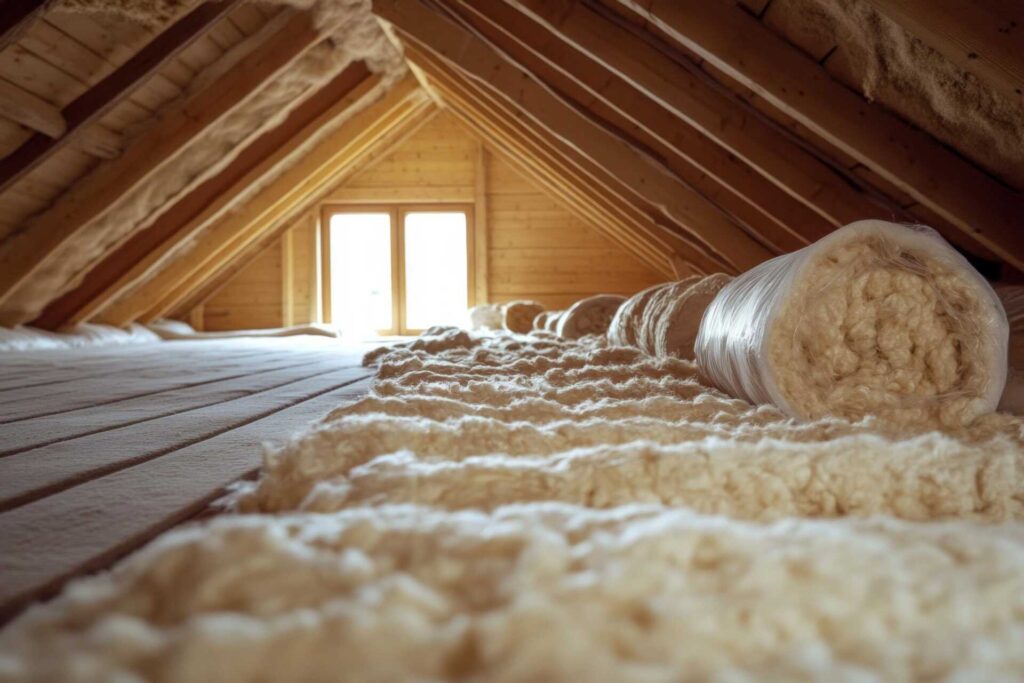
Using Blown-In Insulation for Air Sealing
Using blown-in insulation for air sealing can greatly enhance your home’s energy efficiency. This technique offers several blown-in benefits, making it a popular choice among homeowners.
Here are three key advantages:
Comprehensive Coverage: Blown-in insulation fills gaps and voids effectively, ensuring a tight seal against air leaks.
Quick Installation: This method allows for rapid application, often completed in a single day, minimizing disruption to your home.
Improved R-Value: With proper installation, blown-in insulation can markedly improve your home’s thermal resistance, leading to reduced energy costs.
Upgrading to Radiant Barrier Insulation
After enhancing air sealing with blown-in insulation, upgrading to radiant barrier insulation can further optimize your home’s energy performance. Radiant barriers reflect heat away, helping maintain a consistent indoor temperature, especially in hot climates. This can lead to significant energy savings and improved comfort.
Radiant Barrier Benefits vs. Installation Techniques
| Benefits | Installation Techniques |
|---|---|
| Reduces cooling costs | Staple to roof rafters |
| Minimizes heat gain | Install over existing insulation |
| Enhances comfort | Staple to the roof rafters |
| Increases home value | Use proper materials |
| Eco-friendly option | Hire professionals for best results |
Summary
By applying these top attic air sealing techniques, you can transform your home into an energy-efficient fortress against rising energy costs. From sealing gaps around ductwork to utilizing blown-in insulation, each step helps create a more comfortable living environment. Don’t underestimate the power of effective air sealing—it’s like wrapping your attic in a cozy blanket that keeps your energy bills from skyrocketing. With careful attention to detail, you’ll maximize insulation and achieve peak performance for your home.
Recent Posts
Top Attic Air Sealing Techniques for Insulation
Have you ever considered how much energy might be wasted through unnoticed gaps in your
What Are the Best Attic Air Sealing Techniques?
When it comes to attic air sealing, understanding the common leakage points is vital for
What Are the Best Energy-Efficient Insulation Upgrades?
Insulation upgrades play a crucial role in enhancing your home’s energy efficiency. You might be surprised