Contents
When tackling your crawl space insulation, it’s like peeling back the layers of an onion – there’s more to it than meets the eye. But fear not because, with the right guidance, you can navigate this task with ease and efficiency.
From selecting the most suitable insulation material to ensuring proper ventilation, several key tips can make all the difference in achieving effective and long-lasting results.
So, let’s start on this essential home improvement project and ensure your crawl space is properly insulated for the long haul.
Key Takeaways
- Consider local climate and home needs when selecting insulation materials
- Clear out debris and address moisture issues in the crawl space before installation
- Use vapor barriers and seal gaps properly to protect against moisture and mold
- Prioritize safety with proper equipment and cleanup procedures during the installation process
Choosing the Right Insulation Material
When choosing the right insulation material for your crawl space, consider the local climate and the specific needs of your home. It’s important to compare insulation options to find the most cost-effective materials to provide the best insulation for your crawl space. Different insulation materials have varying R-values, which measure their effectiveness in preventing heat transfer.
For example, fiberglass insulation is a popular and cost-effective option, but it may not be the best choice for areas with high humidity. On the other hand, closed-cell spray foam insulation provides excellent insulation and moisture resistance, making it ideal for damp crawl spaces.
Considering your area’s climate is crucial when comparing insulation options. For colder regions, materials with higher R-values are essential to keeping your home warm and energy-efficient. In contrast, preventing moisture and heat transfer becomes a priority in warmer climates. Reflective insulation, such as radiant barriers, can be a cost-effective solution for homes in these areas.
Additionally, the specific needs of your home, such as existing moisture issues or pest control, should also influence your choice of insulation material.
Preparing the Crawl Space Area
Clear out debris and remove any existing insulation material to prepare the crawl space area for insulation installation. This is essential for creating a clean and suitable environment for the new insulation, which is crucial in ensuring that it will be effective and long-lasting.
Here are some steps to help you prepare the crawl space area:
- Clear Out Debris: Start by removing any debris, such as rocks, wood scraps, and other items that may have accumulated in the crawl space. A clutter-free space will make it easier to work and prevent any potential damage to the insulation.
- Moisture Control: Address any moisture issues in the crawl space by fixing leaks and ensuring proper ventilation. Moisture can lead to mold and mildew, which can damage the insulation and affect the air quality in your home.
- Remove Old Insulation: If there’s any existing insulation material, it’s important to remove it before installing new insulation. This will allow for a fresh start and ensure that the new insulation isn’t compromised by any old or damaged material.
Installing Vapor Barriers and Sealing Gaps
Consider using a heavy-duty plastic vapor barrier to cover the entire crawl space floor, ensuring a snug fit and sealing any gaps to prevent moisture infiltration. When selecting a vapor barrier, opt for a durable material with a thickness of at least six mil to effectively block moisture and resist tears. Thicker barriers provide better protection against punctures and damage during installation. Look for vapor barriers with antimicrobial properties to inhibit mold and mildew growth, promoting a healthier environment in your crawl space.
To ensure a proper seal, overlap the edges of the vapor barrier by at least 12 inches and use a high-quality, waterproof sealing tape designed specifically for crawl space applications. Seal all seams and corners meticulously to create a continuous barrier that prevents moisture from seeping through. Additionally, inspect the perimeter of the crawl space for any gaps or openings that may allow moisture to enter. Use foam board or spray foam insulation to seal these gaps effectively and further fortify the moisture barrier.
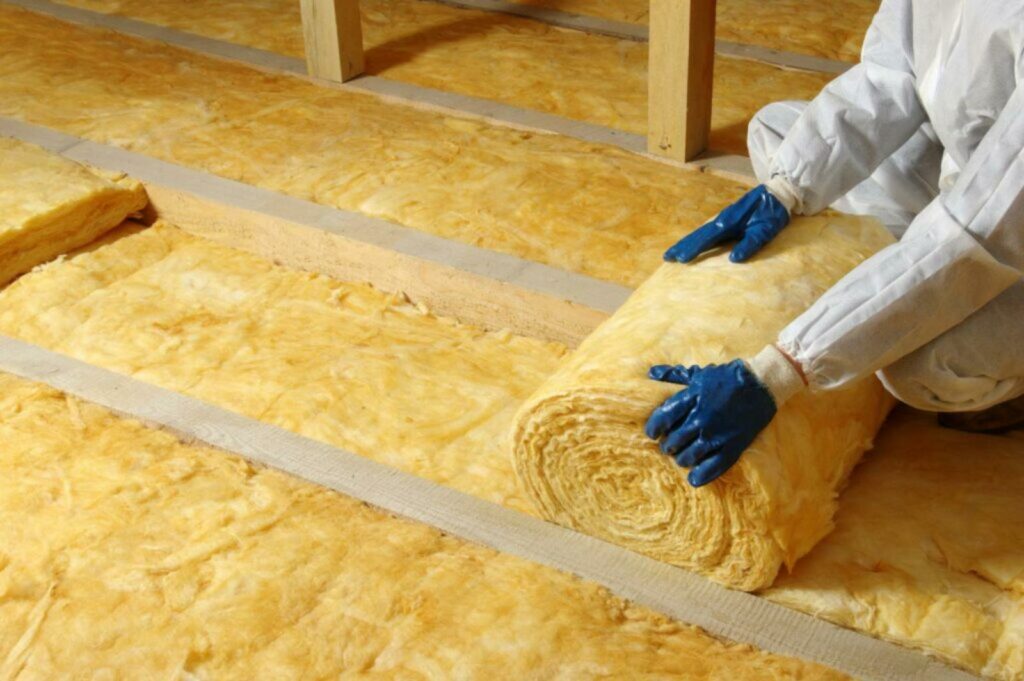
Remember to wear protective gear such as gloves and a mask during the installation process to safeguard yourself from potential irritants. By meticulously selecting a suitable vapor barrier and employing thorough gap-sealing techniques, you can effectively prevent moisture issues in your crawl space, creating a more comfortable and healthier environment for your home.
Proper Ventilation and Air Circulation
Ensure proper ventilation and air circulation to improve the air quality in your crawl space. Ventilation systems play a crucial role in maintaining a healthy environment.
Here are some tips to help you achieve proper ventilation and air circulation:
- Install a mechanical ventilation system: Consider installing a mechanical ventilation system to ensure consistent air circulation in your crawl space. This will help prevent moisture buildup and reduce the risk of mold and mildew growth.
- Use natural ventilation methods: Utilize natural ventilation methods such as vents and air bricks to allow fresh air to enter the crawl space and push out stale, damp air. This can help control moisture and prevent musty odors.
- Consider a dehumidifier: In addition to ventilation, consider using a dehumidifier to control moisture levels in the crawl space. A dehumidifier can help maintain optimal humidity levels and prevent excess moisture from accumulating, ultimately contributing to a healthier environment.
Proper ventilation and air circulation are essential for controlling moisture in your crawl space. By implementing effective ventilation systems and ensuring adequate air circulation, you can create a healthier and more comfortable space while also preventing potential issues associated with excess moisture.
Safety Precautions and Cleanup
After ensuring proper ventilation and air circulation in your crawl space, addressing safety precautions and initiating the cleanup process is important to maintain a secure and healthy environment. When working in a crawl space, it’s essential to prioritize safety by using the appropriate safety equipment and following cleanup protocols to handle hazardous materials properly. Here’s a helpful table to guide you through the safety equipment and cleaning supplies you’ll need for your DIY crawl space insulation installation:
| Safety Equipment | Cleaning Supplies | Insulation Disposal | Hazardous Materials |
|---|---|---|---|
| Protective gloves | Disinfectant wipes | Heavy-duty bags | Mold and mildew |
| Respirator mask | Broom and dustpan | Duct tape | Asbestos |
| Goggles | Trash bags | Marker pen | Rodent droppings |
| Coveralls | Vacuum cleaner | Sealing tape | Old insulation |
Ensure you have the necessary safety equipment, such as protective gloves, a respirator mask, goggles, and coveralls to shield yourself from potential hazards. For cleanup, use cleaning supplies like disinfectant wipes, a broom and dustpan, trash bags, and a vacuum cleaner to maintain a clean environment. Also, carefully handle insulation disposal using heavy-duty bags, duct tape, sealing tape, and a marker pen to label any hazardous materials. Keep in mind that hazardous materials such as mold and mildew, asbestos, and rodent droppings should be handled with caution and disposed of properly to ensure a safe and healthy crawl space environment.
Review
Now that you have all the tools and knowledge needed for DIY crawl space insulation installation, it’s time to put it all into action. Transform your crawl space into a more energy-efficient and comfortable area.
Stay tuned for the amazing results and benefits of a properly insulated crawl space. Get ready to enjoy a healthier home and lower energy bills!
Recent Posts
8 Best Tools for Attic Insulation Removal
When it comes to attic insulation removal, having the right tools is crucial. From the
Best Tools for Attic Insulation Removal Process
You know the feeling of finding a hidden treasure in an unexpected place, like stumbling
Top Tools for Attic Insulation Removal Safety
When it comes to removing insulation from your attic, safety should be your top priority.